Mastering the Facility Service Request Mobile App


You have the option of using either your desktop or your favorite mobile device to enter service requests using our service request module. This means that being able to sit in your office with nothing else to do but casually enter the one or two service requests your facility needs sounds great, but it is hardly realistic. Chances are, you have a to-do list that grows quicker than Pinocchio’s nose. So how do you keep up? I’m here to help you become a service request master!
Step 1: Open the Service Request Mobile App
If you haven’t already, the first step is to download the Facility Service Request Mobile App. Once you have added the application to your device, select it to open it up, and enter your User Name and Password. Hint: this is the same as what you use on your desktop version.

Now let’s enter a new service request!
Step 2: Enter Your Request Information
Once the Service Request Module opens, the queue of available requests appears. Here you can see current requests, assigned requests, priority status, or any requests that are past due. This is a helpful screen that allows you to quickly get a status update for your service requests. It is here that you may also create a ticket.

Tap the Create Ticket link and the new request screen opens.

You can now specify the center of your request and the type of request you want to enter. Make sure that you specify the category, product, and type for your request. Remember, the more information you can provide, the less trouble your assigned operator will encounter when trying to fix it.
Make sure you specify a contact, whether that is you or someone else in your facility.
This gives the operator someone to contact if they need more information. Be sure to also enter the location of the request, including building, floor, and room.
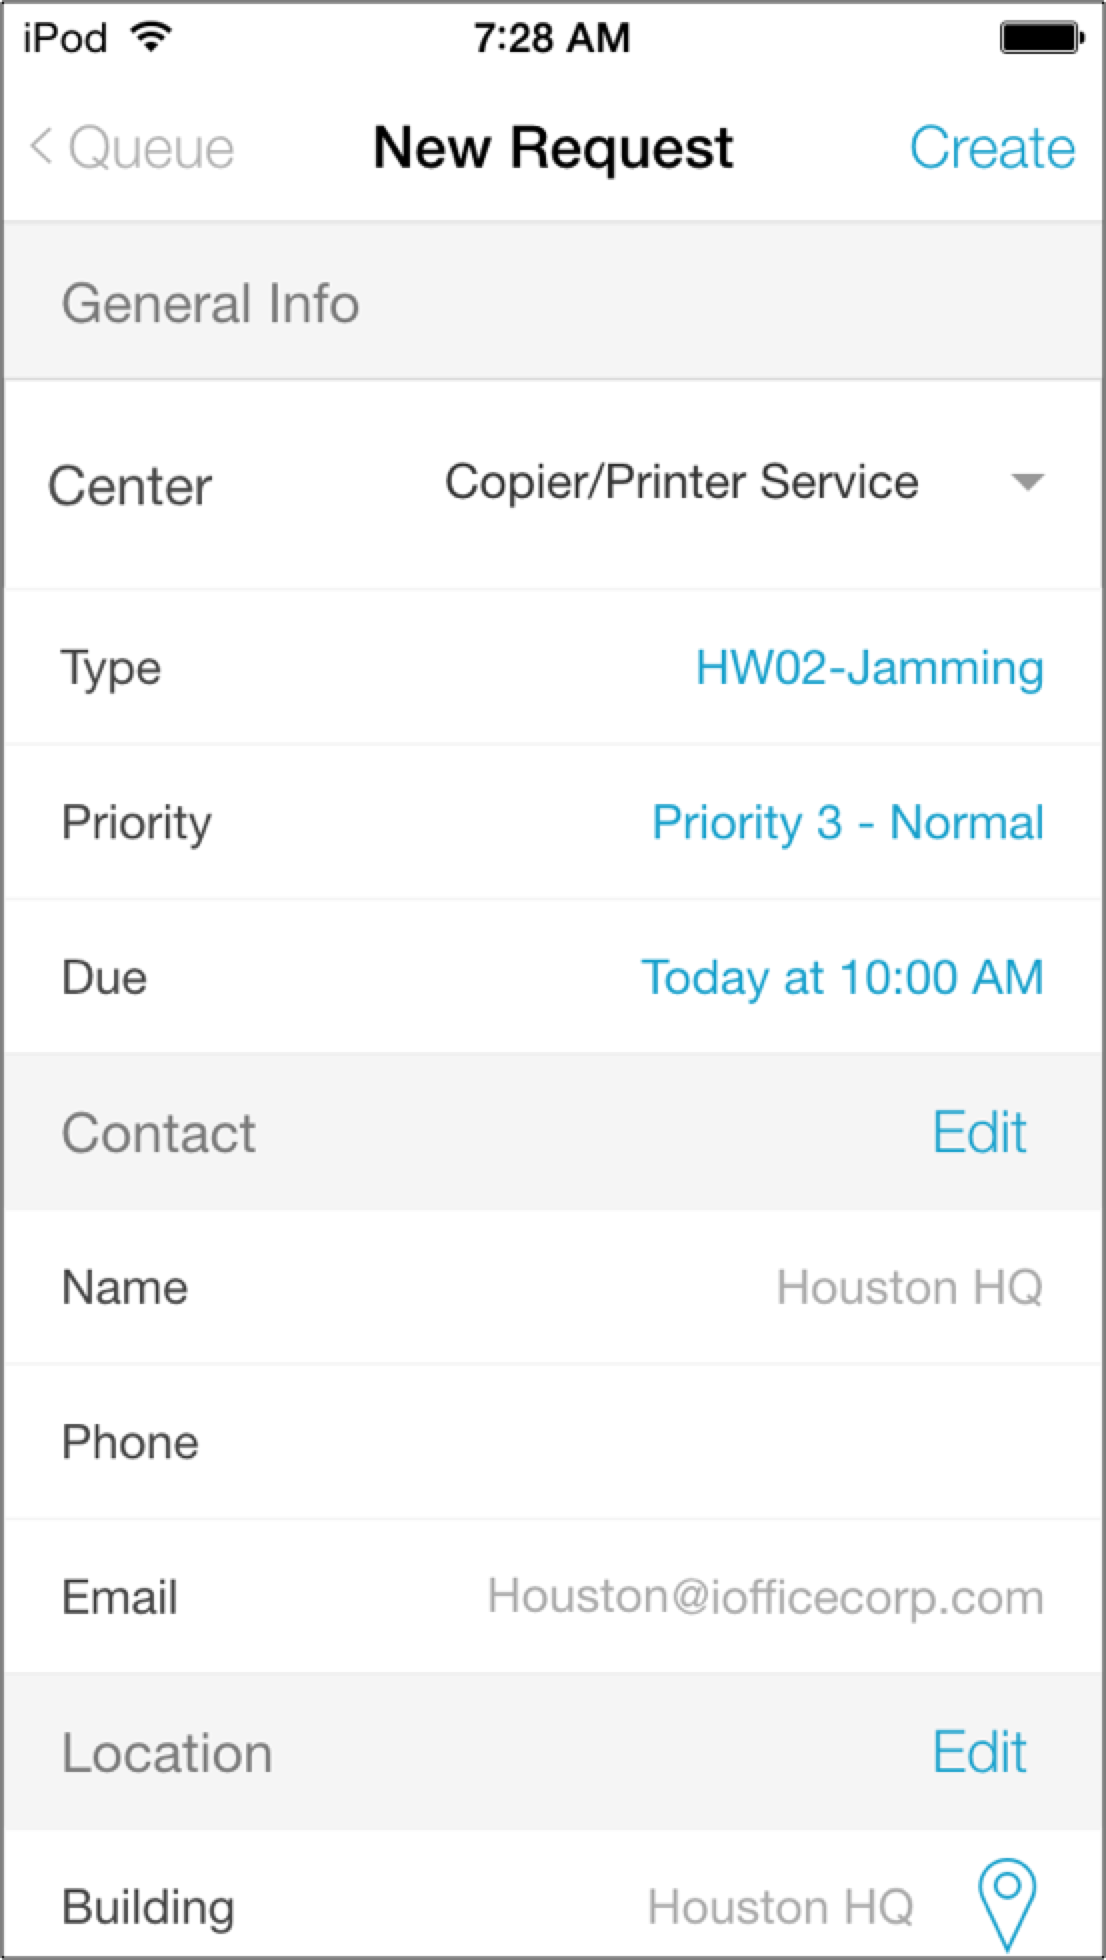
Tap the Create button once ready.
Step 3: Submit Request
Once you have completed all of the previous steps, you are almost done. Now it’s time to submit your request. Once you have verified all of the information you have entered is accurate, click the Submit button.
Your request has now been submitted.

Editor’s Note: This blog post was originally published in October 2014 and has been updated for accuracy and relevance.